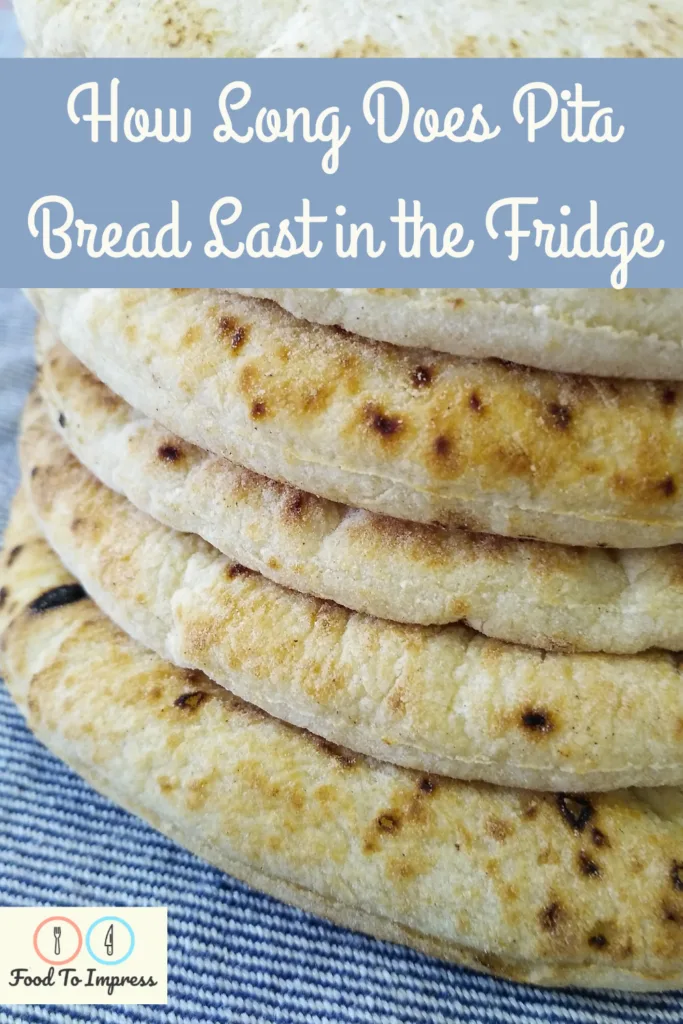
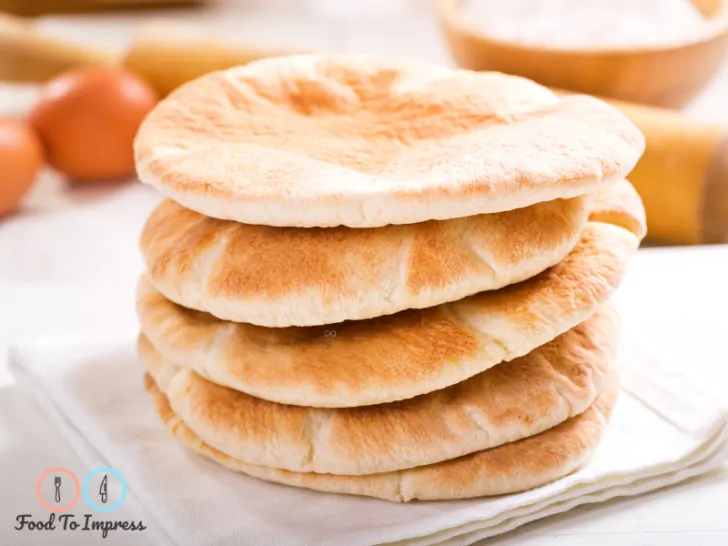
Pita bread, a popular staple in Middle Eastern cuisine, is renowned for its versatility, light texture, and distinctive pocket that can hold a variety of delicious fillings. But how long does pita bread last in the fridge, and what’s the best way to store it to maintain its freshness? Discover the ins and outs of pita bread storage, covering everything from refrigeration and freezing to reviving stale pita and even making your own pita bread at home. With these tips and tricks, you’ll be able to enjoy fresh, delicious pita bread whenever the craving strikes.
How long does pita bread last in the fridge? Depending upon the expiration date on store bought pita bread or for homemade pita bread it should last 3-7 days in the fridge. You could also freeze it to extend how long it will last.

Storing Pita Bread: Fridge vs. Freezer
Pita bread, a delicious and versatile type of bread that originated in the Middle East, has a relatively short shelf life compared to regular bread. When storing pita bread, it’s essential to consider factors such as the expiration date and ideal place to store it to ensure the best quality and freshness.
Refrigerator:
Storing pita bread in the fridge can extend its shelf life for a couple of days. To keep the pita bread in good condition, wrap it in a damp paper towel and place it in a zip-top bag or an airtight container. This method prevents the bread from drying out and maintains its soft texture.
Freezer:
For a longer time, the freezer is the best option. Store pita bread in a freezer bag, wrapped in plastic wrap, aluminum foil, or placed in an airtight container for extra protection against freezer burn. Properly stored, pita bread can last for up to three months in the freezer without losing its quality.
Tips for Freezing and Thawing Pita Bread
Freezing pita bread is a great way to preserve it for later use. To get the best results, follow these guidelines:
Freezing:
- Allow the pita bread to cool completely after baking or purchasing.
- Separate each pita with a piece of parchment paper or plastic wrap to prevent them from sticking together.
- Wrap the stack of pita bread in plastic wrap, aluminum foil, or place it in a ziplock bag or airtight container. Press out any excess air to reduce the risk of freezer burn.
- Label the container or bag with the date to keep track of how long it has been stored.
Thawing:
- Remove the desired number of pitas from the freezer and let them thaw at room temperature in their original packaging for about 30 minutes.
- For a quicker thaw, place the pita bread on a microwave-safe plate and heat for 10-20 seconds, or wrap them in aluminum foil and warm them in a preheated oven at 350°F (175°C) for 5-10 minutes.
Reviving Stale Pita Bread and Creative Uses
Even if pita bread becomes stale, there are still ways to make the most out of it. Here are some tips and ideas to revive and repurpose stale pita bread:
- Toast stale pita bread in a toaster oven, under a broiler, or directly over an open flame to crisp it up and improve its texture.
- Cut stale pita bread into small pieces and use them to make homemade pita chips. Drizzle them with extra virgin olive oil, sprinkle with your favorite seasonings, and bake them in a single layer on a baking sheet at 375°F (190°C) for 10-15 minutes or until golden brown.
- Use stale pita bread to make bread pudding, replacing regular bread with pita pieces.
- Stale pita bread can also be used as a base for homemade pizza, or as a crunchy addition to salads, soups, and casseroles.
Making Your Own Pita Bread at Home
If you want to ensure the freshness and quality of your pita bread, making your own is a fantastic option. Another similar type of bread to consider is naan bread. You can read more about naan vs pita bread here.
Homemade pita bread allows you to control the ingredients, experiment with different flours (like whole wheat flour or a combination of white and whole wheat), and enjoy warm, fresh bread straight from the oven.
Here’s a basic homemade pita bread recipe:
Ingredients:
- 1 cup warm water
- 2 teaspoons active dry yeast
- 1 teaspoon sugar
- 3 cups all-purpose flour (or a mix of all-purpose and whole wheat flour)
- 1 teaspoon salt
- 2 tablespoons extra virgin olive oil
Instructions:
- In a large bowl, combine the warm water, yeast, and sugar. Let the mixture sit for 5-10 minutes, or until it becomes frothy.
- Add the flour, salt, and olive oil to the yeast mixture. Mix until a dough forms. Knead the dough on a lightly floured surface for 5-7 minutes, or until it becomes smooth and elastic. You can also use a stand mixer with a dough hook attachment for this step.
- Place the dough in a lightly oiled bowl, cover it with a damp cloth, and let it rise in a warm, draft-free spot for 1-2 hours, or until it doubles in size.
- Preheat your oven to 475°F (245°C) and place a baking stone, pizza stone, or cast iron skillet inside to heat up.
- Divide the dough into 8 equal pieces and roll each one into a ball. Cover the dough balls with a damp cloth to prevent them from drying out while you work.
- On a lightly floured surface, use a rolling pin to roll out each dough ball into a thin, even circle, about 6 inches (15 cm) in diameter.
- Place the rolled-out pitas onto the hot baking stone or skillet (you may need to do this in batches) and bake for 2-3 minutes, or until they puff up and form the perfect pocket. Flip the pitas and bake for an additional 1-2 minutes, or until they’re lightly golden.
- Remove the pitas from the oven and let them cool on a wire rack. Wrap them in a clean linen sack or cloth to keep them soft while they cool.
By making your own pita bread, you can ensure that it stays fresh for a longer time. Remember to store homemade pita bread in an airtight container or wrapped in a damp paper towel in the refrigerator, and use the tips for freezing and thawing when needed.
In conclusion, knowing how to store pita bread properly is essential to extend its shelf life and enjoy it at its best quality. Whether you’re using store-bought or homemade pita bread, keeping it in the fridge, freezer, or even reviving stale bread can help you make the most of this delicious and versatile bread.

